
One of the reasons I decided to take the long voyage to California was because my sister-in-law Emily was on vacation there. You will have to go check out her blog. While there, I noticed a few items that she had sewed for herself. I said to her,"Why have you not blogged about these things? People will LOVE them." So she has some really great stuff coming up, that you will want to check out.
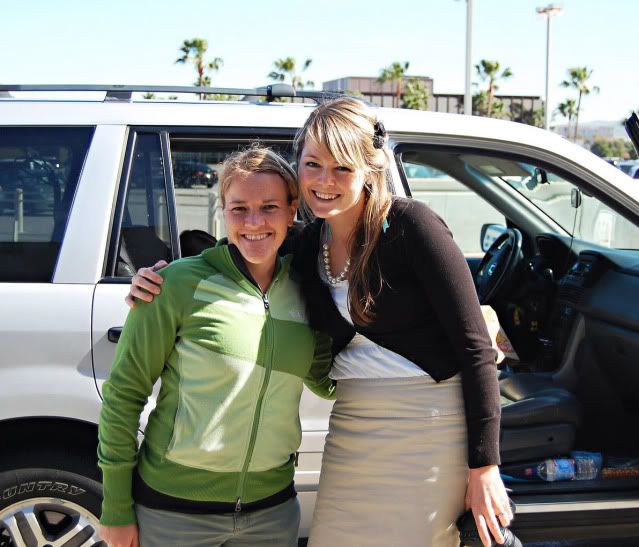
Here we are at the Orange County Airport saying goodbye.
Here we are at the Orange County Airport saying goodbye.
She reminded me of a couple of headbands I had made for her for a Christmas gift.
I found the pictures on my camera and remembered I had wanted to blog about them.
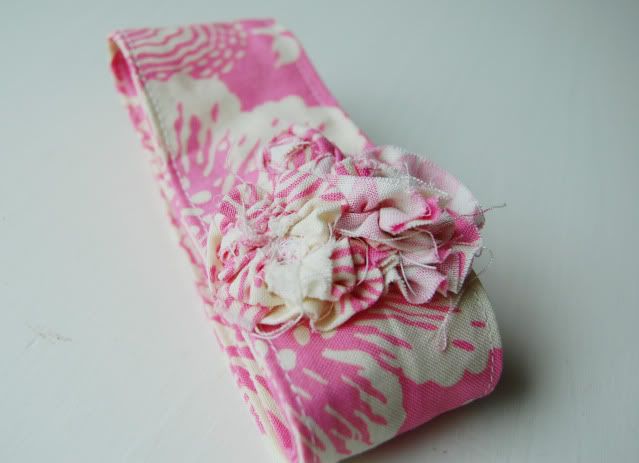
Here is the first.
I found the pictures on my camera and remembered I had wanted to blog about them.
Here is the first.
It's a fabric headband that ties in the back.
I did not take pictures of how I made this headband!
But don't worry I am working on a tutorial for this today!
I did not take pictures of how I made this headband!
But don't worry I am working on a tutorial for this today!
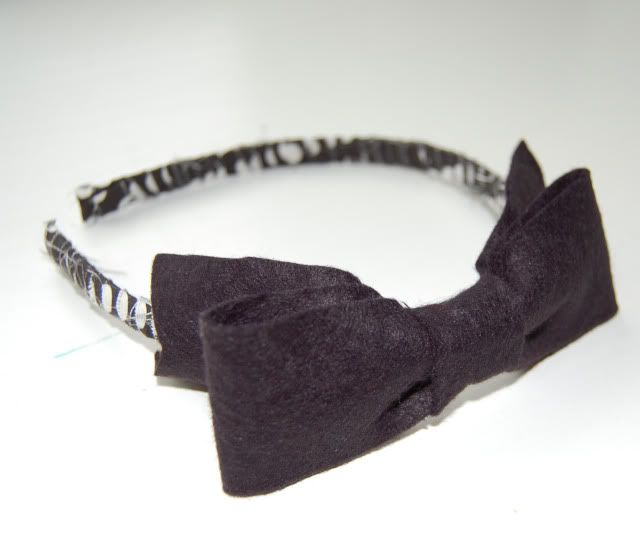
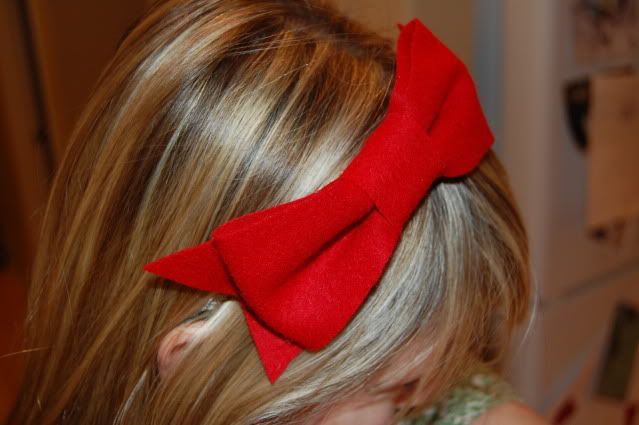
Here is the other.
I just love these big bow headbands.
I have made quite a few of them let me tell ya :o)
I just love these big bow headbands.
I have made quite a few of them let me tell ya :o)
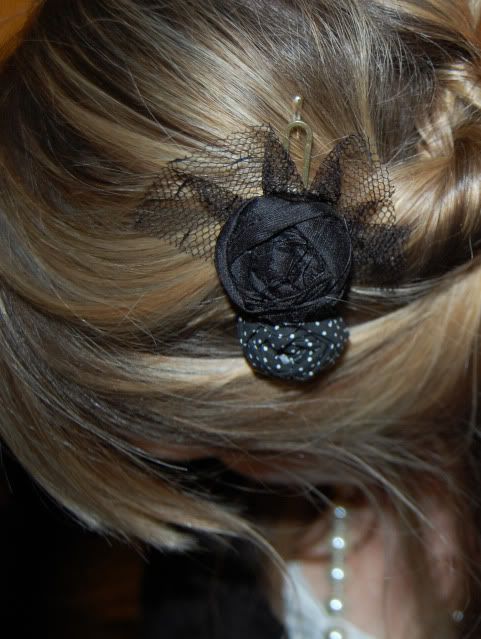
Here it is on.
This picture makes me cringe a little.
I am always wanting my photo's to be perfect...but I have a life ya know.
I try to do everything for my crafts, sewing, and the blog while my kids are sleeping.
So this is how photo's of crafts go down at my place:
It's like 7 am. I realize that I want to take a picture of the headband I made to document it. The kids are asleep...but only for a few more minutes. I run grab my camera. No time to maybe run a brush through my hair. Snap a few pictures.
and you end up with the photo below....ha ha life is great isn't it!?

I brought 2 bags of headband making material to California.
My sister and I planned on having craft nights while the kids were sleeping.
Never happened. We were too tired to stay up at night with all of your daily adventures.
But I did manage to stay up an extra 15 minutes later after my sister went to sleep, and made the cutest little rosette clip for my hair. I am wearing it in the very first photo of this post.

Oh little rosette hair clip, you will be having many a friends join you when I get the few seconds to craft.
Alright, I really want share how to make the big bow headbands.
The Big Bow Headband Tutorial:
I use wool felt.
Not the kind of felt you buy in the kids craft section of JoAnns.
It is made of wool.
It is sold at JoAnns on the bolts.
Check info on the bolt to make sure it is really made of wool.
If you get the cheap felt it looks kinda crappy.
I have also bought this kind of felt at Craft Warehouse.
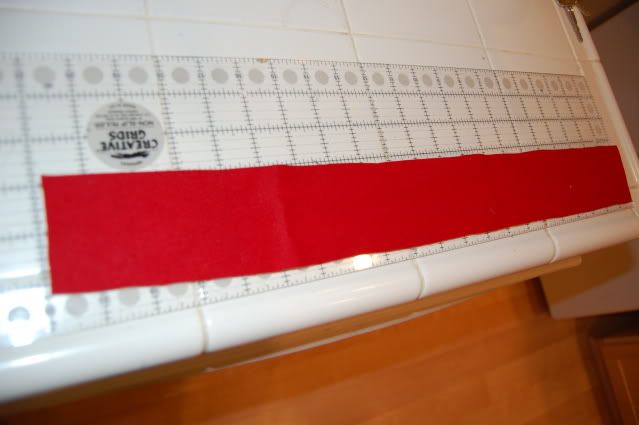
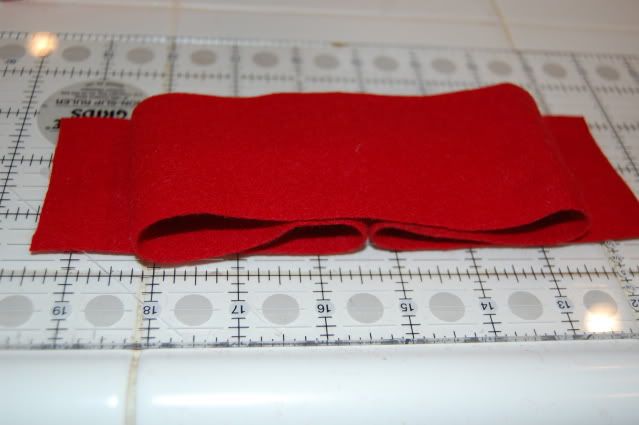
Cut a long strip of your wool felt.
Mine is about 20 inches by 2 1/2 inches.
This makes a big bow.
Play around with the lengths and widths of different sizes.
The Big Bow Headband Tutorial:
I use wool felt.
Not the kind of felt you buy in the kids craft section of JoAnns.
It is made of wool.
It is sold at JoAnns on the bolts.
Check info on the bolt to make sure it is really made of wool.
If you get the cheap felt it looks kinda crappy.
I have also bought this kind of felt at Craft Warehouse.
Cut a long strip of your wool felt.
Mine is about 20 inches by 2 1/2 inches.
This makes a big bow.
Play around with the lengths and widths of different sizes.
Take a pencil and make a small light mark in the center of the felt.
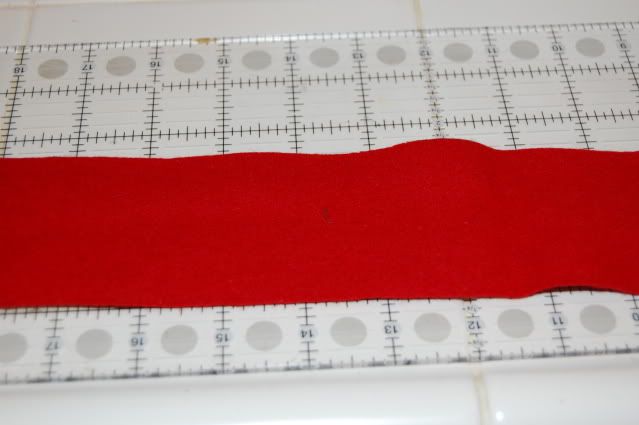
Starting at one side, fold your felt over to meet your middle mark.
See how I left about 1/2 inch hanging off the end at the right.
Make sure to do the same.
Next fold the other side over the exact same way.
See how I left about 1/2 inch hanging off the end at the right.
Make sure to do the same.
Next fold the other side over the exact same way.
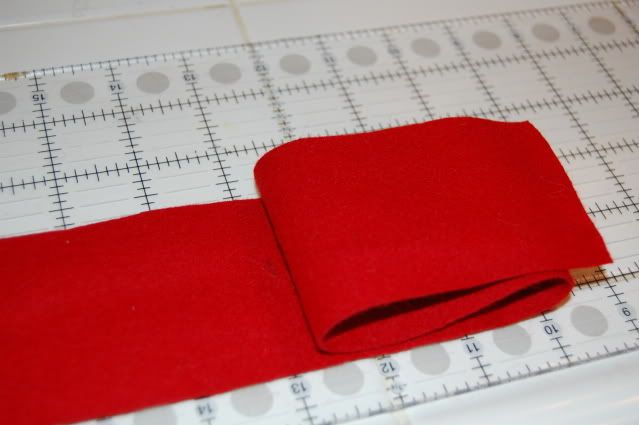
Take a hot glue gun and glue your folds down.
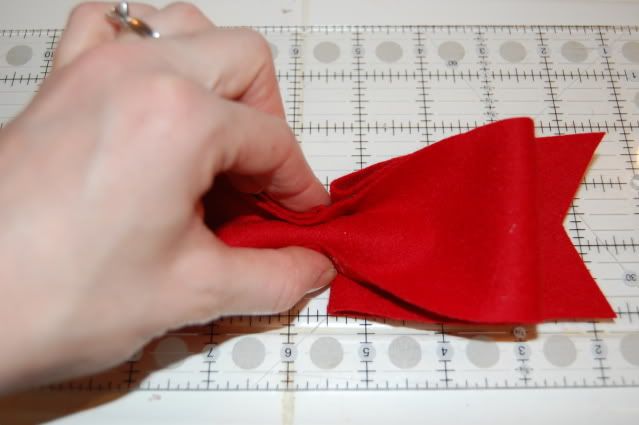
When the glue is dried, turn it over and it should look like this.
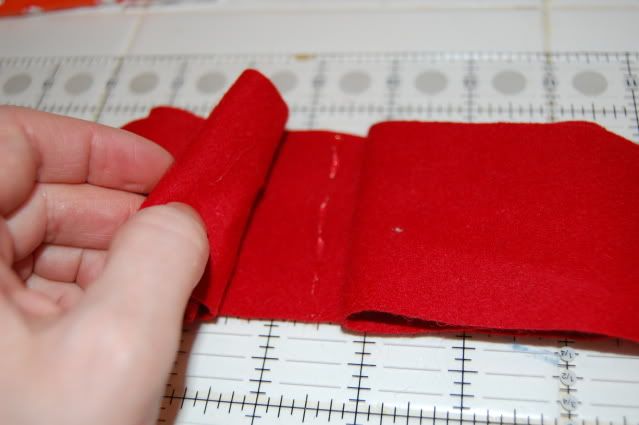
I like the bow to have a dimpled look to it.
So I fold the middle of the bow like so, bringing the top and bottom to the middle.
So I fold the middle of the bow like so, bringing the top and bottom to the middle.
Cut out a rectangle of felt for the middle of the bow.
I cut mine about 1 inch by 2 1/2 inches.
Dimple your fabric like I did above,
and then glue your rectangle of felt around the center of the bow.
Make sure you are gluing in the back of your bow.
Then cut a little triangle shape out of the tails of your bow.

Then hot glue your big bow to a headband!
*You can get great headbands at target, wal-mart, walgreens, ect. I acutally cover plastic or metal headbands to make mine, but I will have to show you how to do that another day. The kids and the husband are awake now.
22 comments:
I'm so glad you are going to show how to make those cute headbands! I get compliments on them ALL of the time!!
Also, I think that picture of us is big enough...too bad I just left the beach while you just left church. Hmmmm. I guess that's what I get.
Miss you guys.
These are really cute! Thanks for sharing how to make them!
Adorable! And I LOVE the rosette hair clip! When you make it some friends can you post a tutorial! Thanks!!
Jax
http://www.sandjavery.blogspot.com/
Hey it's the girl from Legoland:) Hope you had a fabulous trip and enjoyed a little slice of our San Diego paradise:) It was so fun to run into you. Hope you weren't too creeped out. I just love your blog:)
Congratulations! I have awarded to a Beautiful Bloggger Award! Come on down for all the details! Thanks for being so inspiring.
Okay...small world. I worked with your sister-in-law Emily at Dimple Dell in Sandy a few years ago. How random that I would see a picture of her on a blog (your blog) I love to follow and you don't know me from Adam (or Eve). :)
Emily is one of the nicest people I've ever met. You're lucky to have her as a sister-in-law.
Adorable! Love the bows!
I've been making lots of small rosette hairclips with your tutorial! Headbands give me headaches, so I adjusted the amount of material I use to make the rosette and make clips!
I haven't posted pics of any of the clips I've made...it seems that I give them away faster than I make them!
If I get some photos, I will link them to you! I've made some cute ones!
Just purchased the rosette headband tutorial so excited!!
I can't wait for a tutuorial on the tie headband and the little rosette clip. I keep checking back to see when they pop up!
I love headbands, so this tutorial came like from heaven! Thank you so much. I think now I will be able to sell these instead of viagra online ! You made my day!
Your fabric headband that ties in the back looks so cute. Have you finished a tutorial on how to make these. So excited to see one :)
squishysandee@gmail.com
Hey,
I just want to say Thanks Very very much for sharing this great Headbands.
Really It is just awesome looking... I wish I could be try it out. Thanks again and Keep posting...
online zenegra
wow i really love the first photo you both look awesome, beatiful, so cuuuuuuteeeee.....love you hair and the amazing style, thank you so much for sharing..
Indian Pharmacy
Hey, I did a bow following your tutorial and it looks amazing. Thank you so much
I completely agree with you. I have no point to raise in against of what you have said I think you explain the whole situation very well.
Order Generic Viagra
Its an interesting information found here... I like your blog post. Keep posting. I like it.
Zenegra
hey so nice headbands... my daughter loved to ware different bands..........
Generic protonix
I'm Noah from USA. I was attempting to keep an erection for a considerable length of time, required 50mg of Viagra, worked in less than an hour and it worked, regardless of the reality I was exceptionally restless. Just attempted it multiple times yet it works like clockwork. Its gold and my erections where rock hard. My sweetheart said I was better then of all time. Much obliged to you Generic Viagra for saving me. No Side impacts, Buy Generic Viagra Online https://unclerx.com/
Post a Comment